Installation
Windows
Installing Bestatic on Windows is extremely easy. Grab the .exe installer from here and double click to start installation, just like every other software you have ever installed!
Ignore the security warnings, if showed (Bestatic is safe; it is free and open-source software under GPL-3.0 license so that you or anyone else can audit/distribute the code from GitHub repo), keep clicking Next/Accept for a few times, and as long as you do not change any default settings, Bestatic should be installed pretty quickly.
Screenshots are provided below just for reference:
-
At first, upon double clicking the exe file, you should see this pop-up:
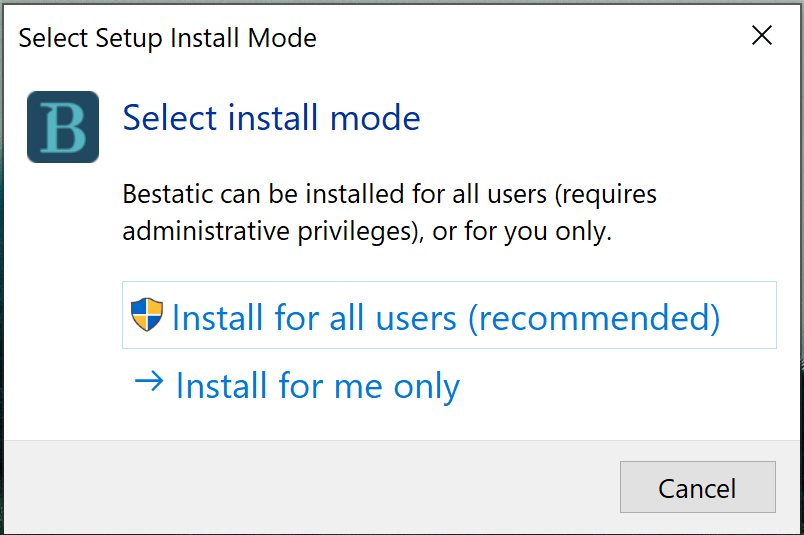
You should click Install for all users (recommended). Other option should work too.
-
After that you may see a Microsoft Defender pop-up window:
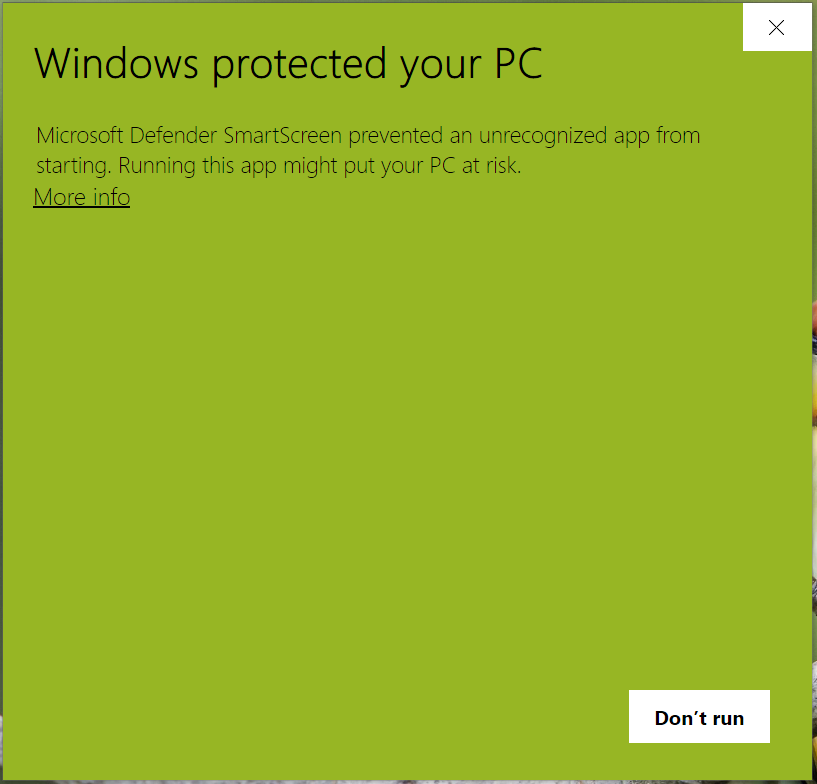
You should click on More info (near top-left corner).
-
If you have clicked "More info", you should see this:
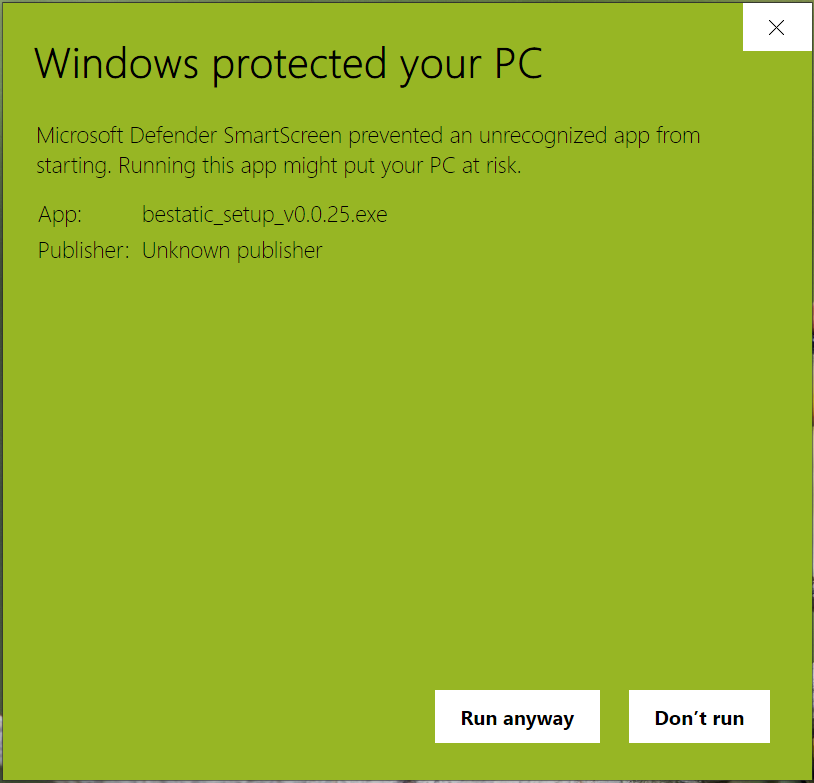
You should click on Run anyway.
-
Once you have clicked "Run anyway", you should see an UAC prompt like this:

You have to choose Yes here.
-
Now you will see the prompt to accept the license agreement (GPL-3.0).
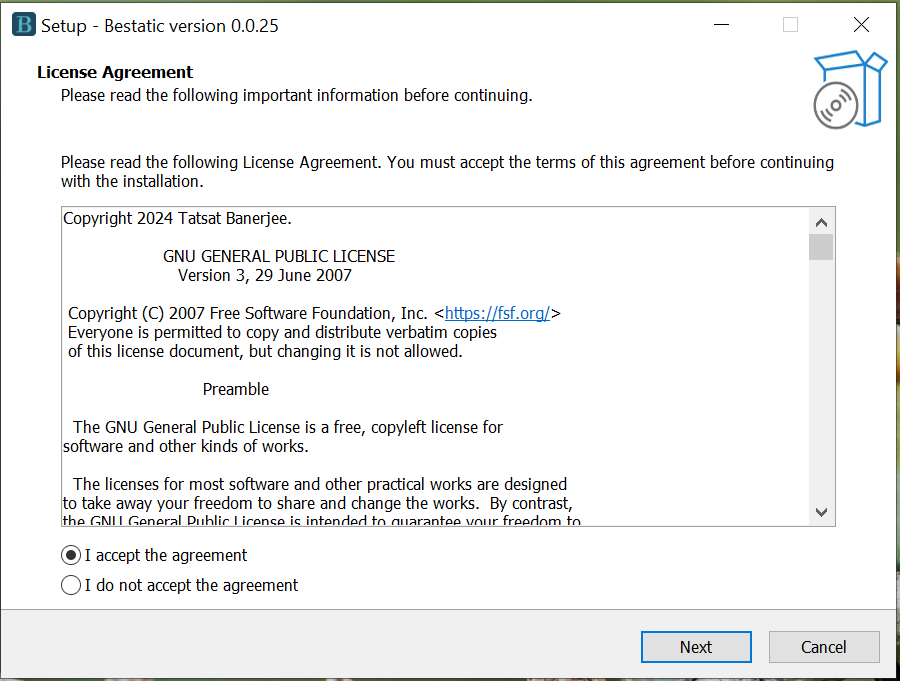
You have to accept the agreement to install Bestatic.
-
If you accepted the license agreement, you should see this screen. Do NOT uncheck the Add application directory to your environmental path option; just click Next. Otherwise, Bestatic will not work after installation.
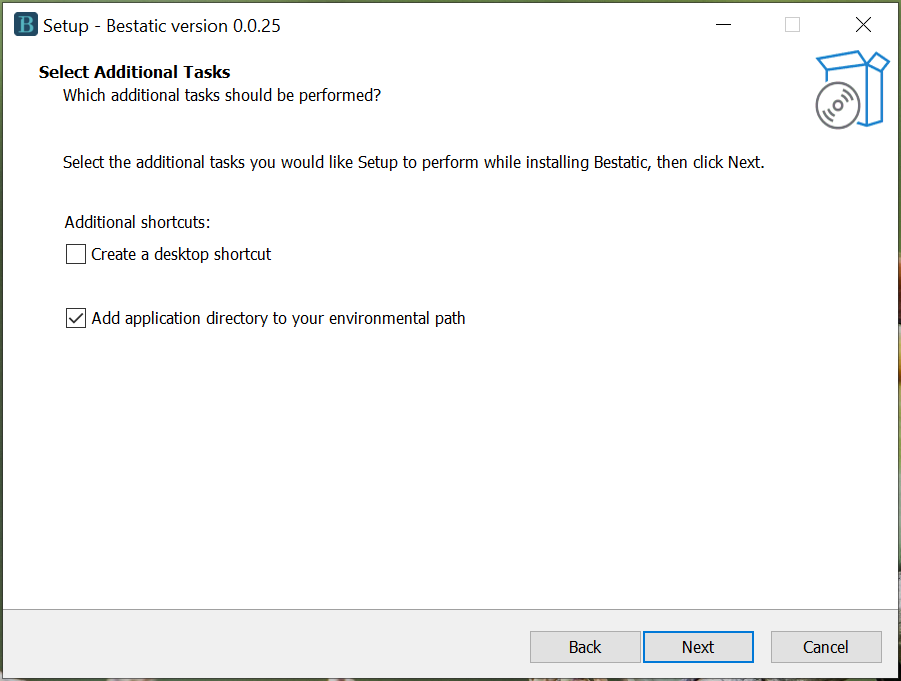
You must keep Add application directory to your environmental path option checked. If you wish, you can choose to create a desktop shortcut (which will not be particularly useful).
-
Now you should see the Ready to Install screen like this:
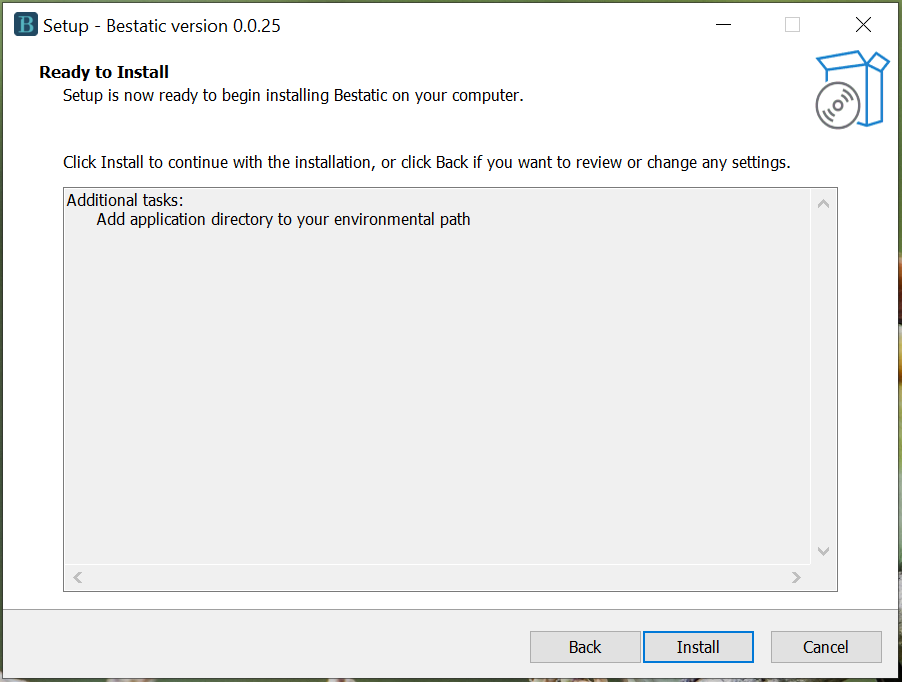
Click Install to install Bestatic.
-
Now you should see that the Bestatic is installing
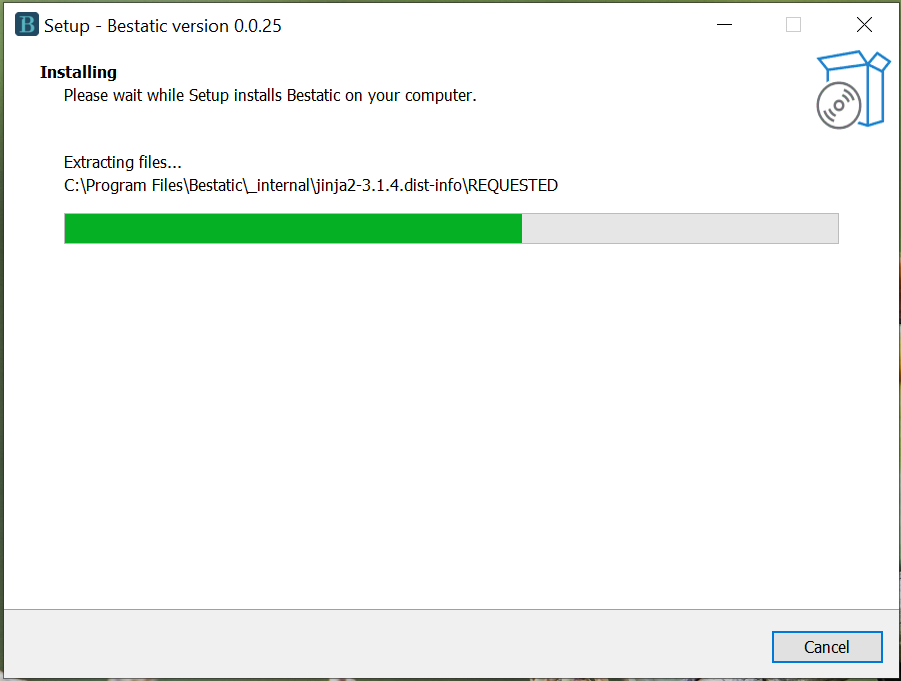
Wait and relax!
-
Bestatic should have completed installation correctly and you should now see this:
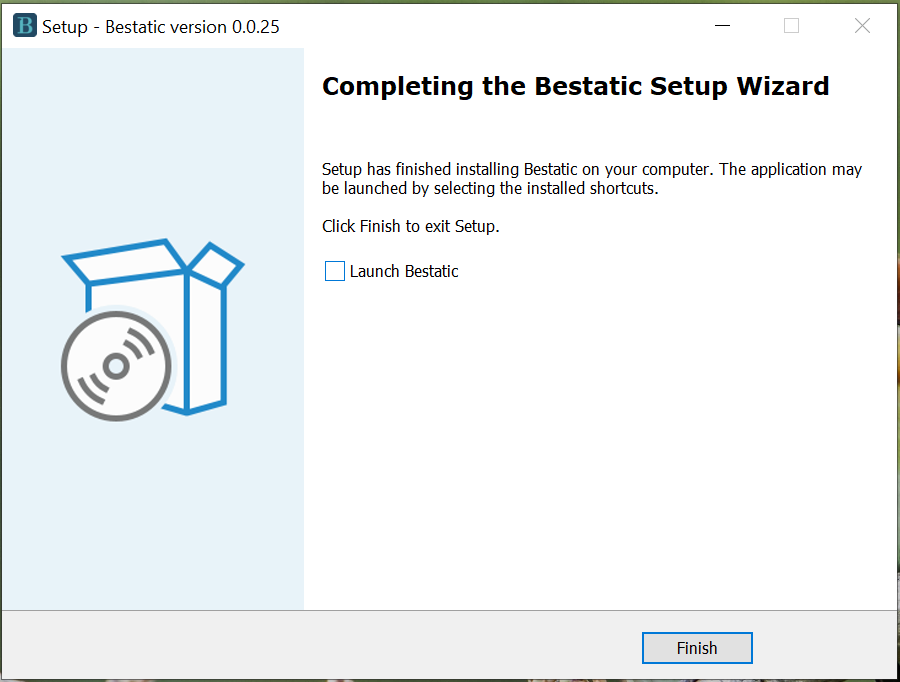
You may uncheck the Launch Bestatic and then close the window.
You can now open a terminal window (Windows Powershell or Command Prompt) and type bestatic version. As long as you see "Bestatic version: 0.0.xx" as output, it indicates that your installation is successful!
Linux
The installation process of bestatic on linux can vary a bit depending on the distro that you are using. The best way to install bestatic is to use the Snap version. Please consider the alternatives only if Snap is absolutely not supported by your distro.
-
Snap: If you are using Ubuntu or one of the flavors of Ubuntu (such as Kubuntu, Xubuntu, Lubuntu, Ubuntu Budgie, etc.), the Snap version of Bestatic should be available to out-of-the box from your software center or Snap Store. You should just search for bestatic, click install, provide sudo or root password if asked and you should be done. Screenshots are provided below for reference:
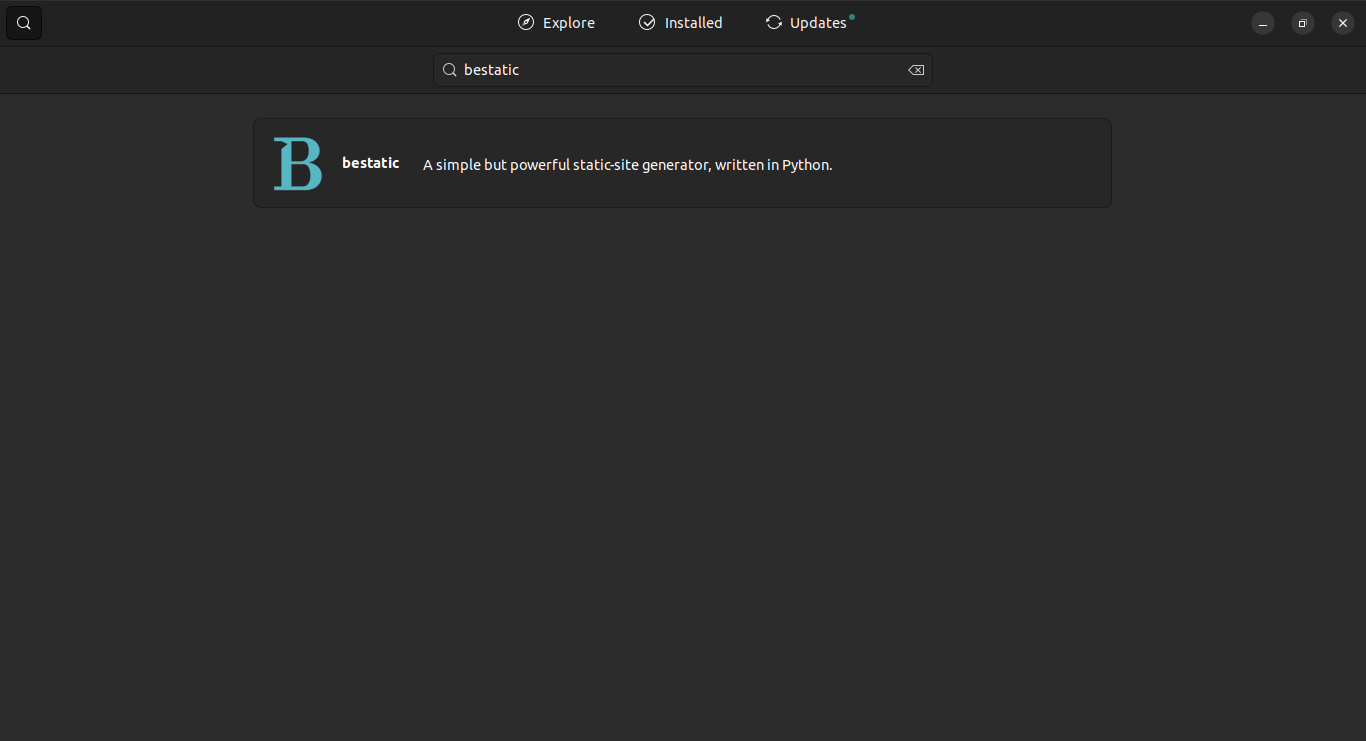
You should search for bestatic in your software center. You should see something like the above picture as search result. Click on the search result.
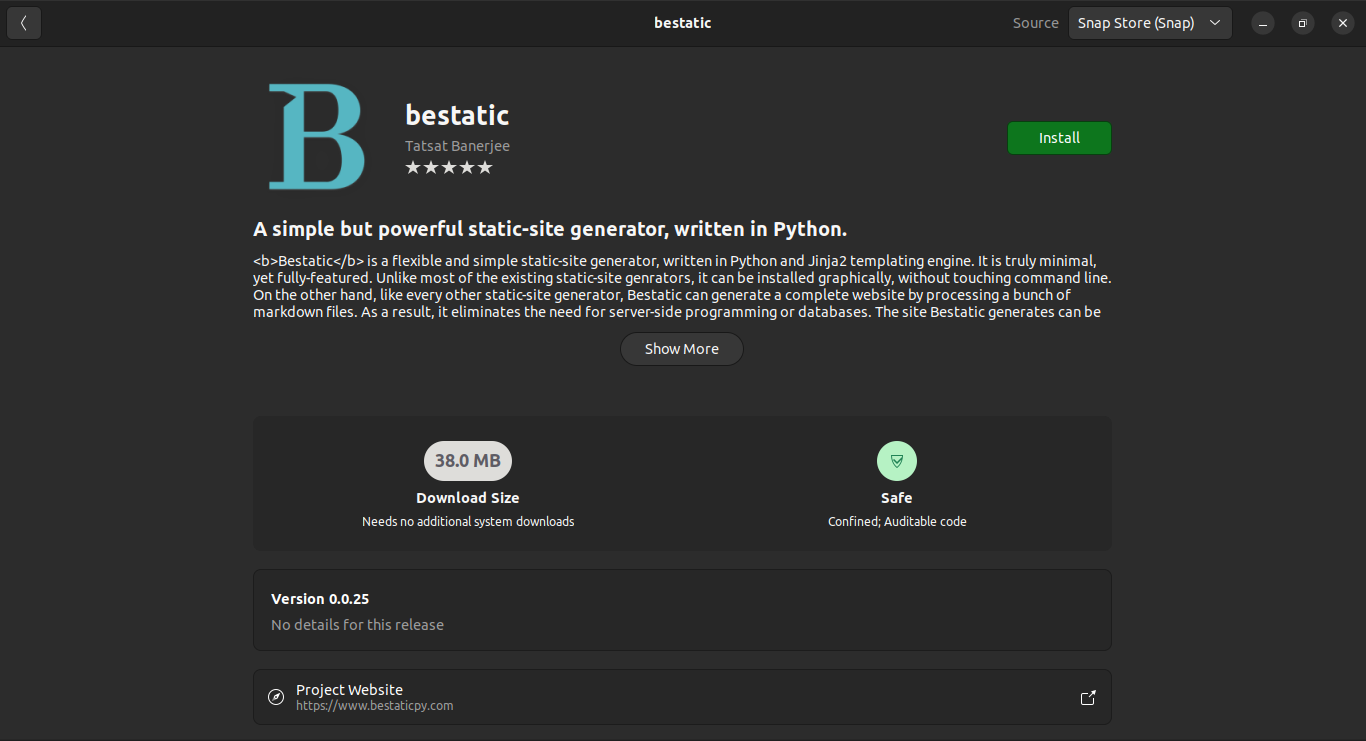
If have clicked on the search result, you should see the listing page for bestatic now. Click on the Install button near top-right corner.
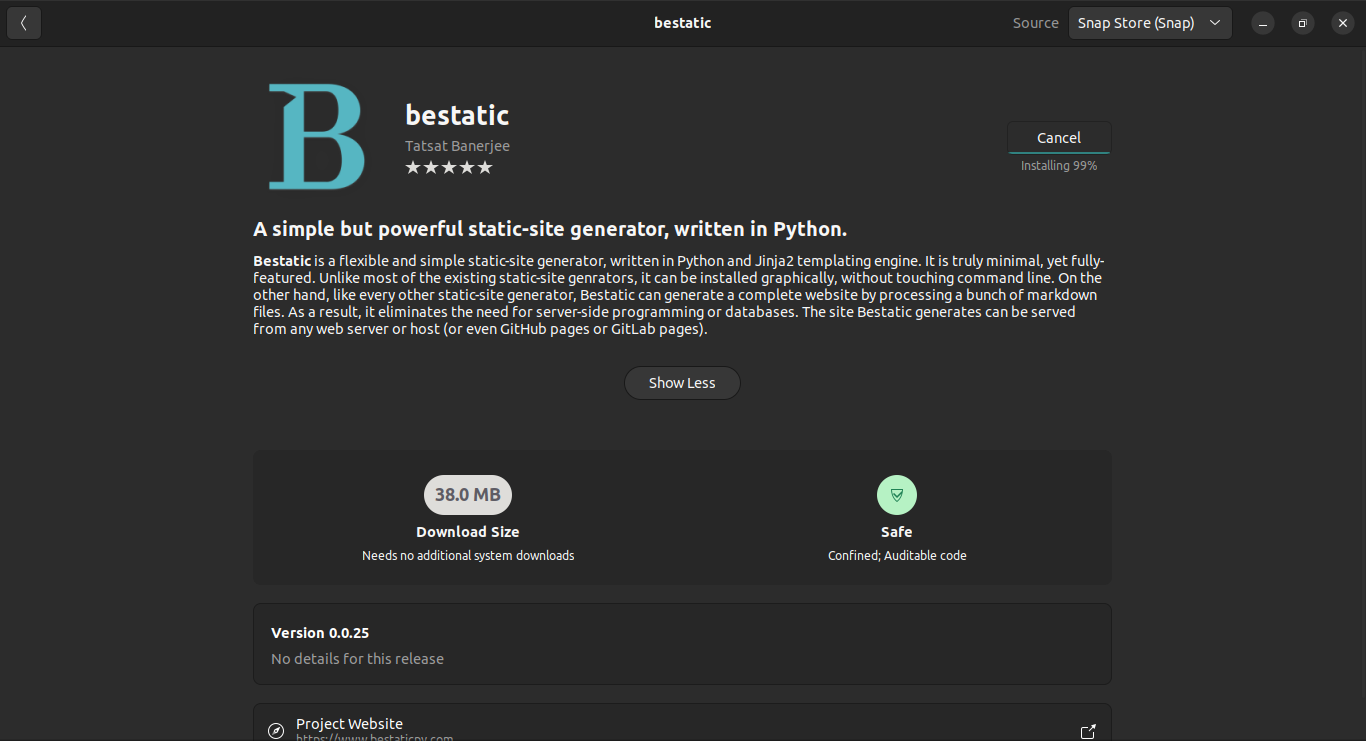
If you have clicked Install before (and provided sudo password, if asked), you should see that bestatic is installing. It should not take too long.
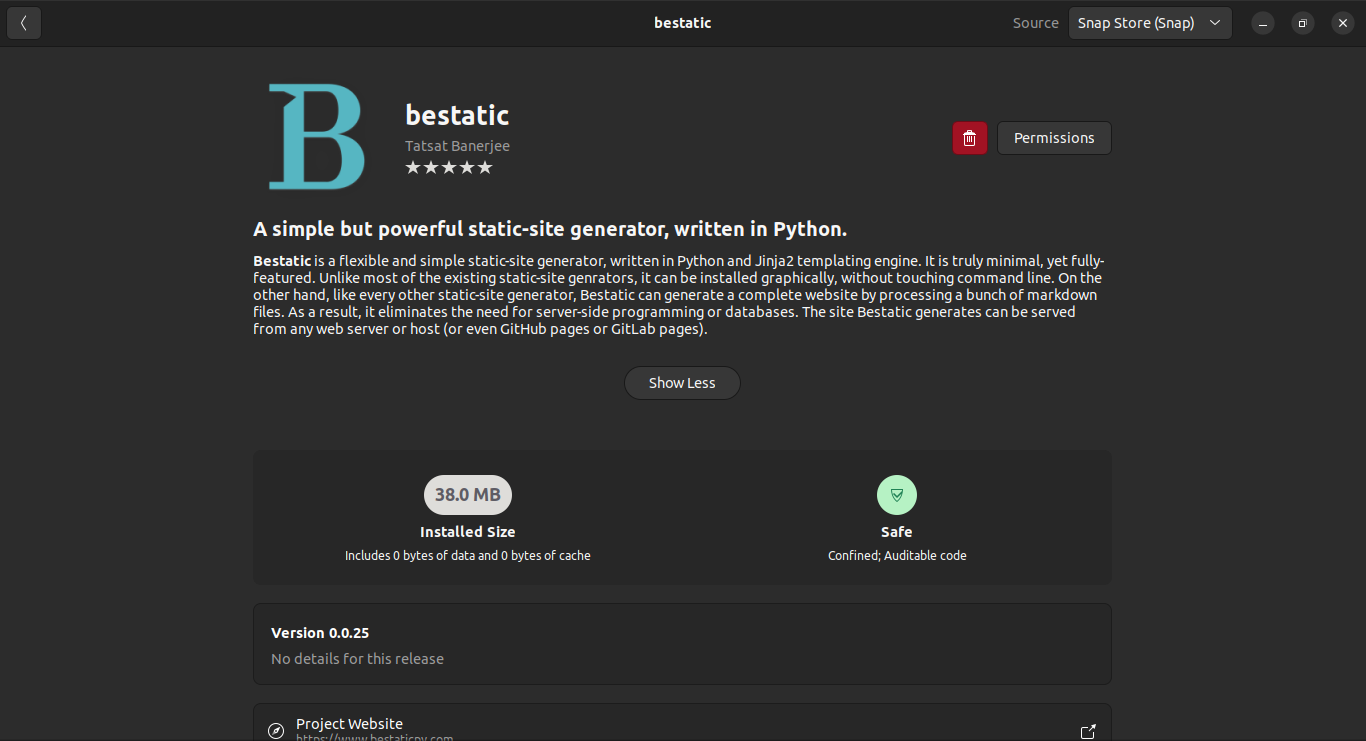
As long as you see something like the above picture, your installation is successful!
If you prefer command line, use
sudo snap install bestaticto install bestatic.
If you are on another distro and snapd is not installed by default, please install snapd following distro-specific instruction available here or in your distro's documentation. You can then install bestatic by using the samesudo snap install bestaticcommand. -
Flatpak: If you are using somewhat niche distro such as Artix, Solus, Devuan, Void, or Nix, consider using the the Flatpak version of Bestatic from the Flathub. Of course, if not already configured, install Flatpak, add the Flathub repository, and then restart your computer. You can find distro-specific instructions here.
Once that is configured, use the following commands to install the flatpak version of bestatic.1 2 3
flatpak install flathub com.bestaticpy.bestatic echo "alias bestatic='flatpak run com.bestaticpy.bestatic'" >> ~/.zshrc && source ~/.zshrc #Use this if you use zsh as user shell echo "alias bestatic='flatpak run com.bestaticpy.bestatic'" >> ~/.bashrc && source ~/.bashrc #Use this if you use bash as user shellOf note, while last two commands are not strictly required, they will help you to follow the documentation's command. Otherwise, you have to manually use
flatpak run com.bestaticpy.bestaticinstead ofbestaticevery time. -
pipx: This should be the last resort for Bestatic installation in Linux (if you are not interested in playing with the source code). For this to work, you need to install pipx first (either using pip or using your distro's package manager), make sure pipx is in your PATH environment variable, and then install Bestatic. You can try the following commands:
1 2 3 4
python3 -m pip install --user pipx # Just "pip install pipx" may also work. python3 -m pipx ensurepath # Just "pipx ensurepath" may also work. sudo pipx ensurepath --global # Allows pipx actions in global scope. pipx install Bestatic # This step actually install BestaticNote that, although we are using pip to install pipx here on the first command, it is probably better to use distro's package manager to install pipx (but you have to make sure pipx is correctly packaged by your distro and/or your distro recommends that).
macOS
At this point, we do not provide a .dmg file or something similar for Bestatic. While we are hoping to provide that in near future, it is still fairly easy to install Bestatic from command line on macOS. You just have to type 5 commands: 1 to install Homebrew (skip if you already have Homebrew in your system), 3 to install and configure pipx, and finally 1 to install Bestatic. Commands are provided below. Note that, instead of using the first command, you can also use .pkg installer (available here) to install Homebrew and use next four commands.
1 2 3 4 5 | |
You should now be ready to go!
Using PIP
PIP would a great way to install Bestatic, if you are already familiar with Python, know how virtual environments work, and want to play with the source code. Steps are simple:
-
Use venv, conda, poetry, or whatever your like as your environment manager to create a new virtual environment. While this step may not be absolutely necessary, we STRONGLY recommend it since it is very likely that Bestatic (and/or its dependencies) will conflict with existing packages in your current Python environment.
-
Activate your newly created Python environment.
-
Install bestatic using PIP (this will also work perfectly in a Conda environment):
1pip install Bestatic
And you are good to go! You can always go to site-packages to play with the Bestatic source code and see your edits in action!